How to Set up a Residential Proxy on Linux
Learn how to set up a proxy on your Linux device with these simple instructions!
Hide your IP, avoid geoblocks, and never get flagged.
14-day money-back option
Linux proxy settings:
Linux offers a variety of distributions for people interested in alternative OS. Unfortunately, it would be impossible to cover the setup on all of them. The guide below should provide a good understanding of system-wide proxy setup.
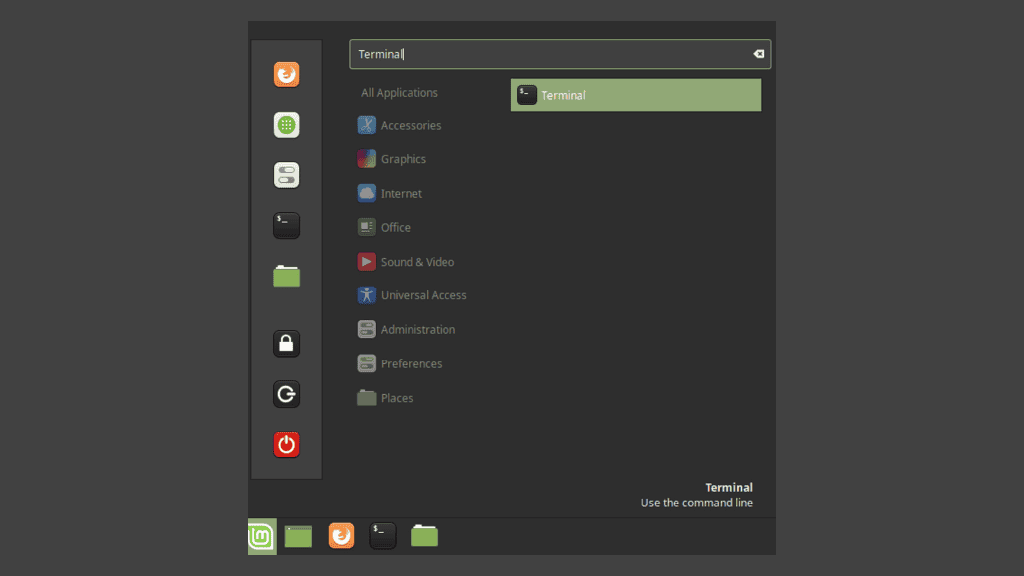
1. Open Terminal.
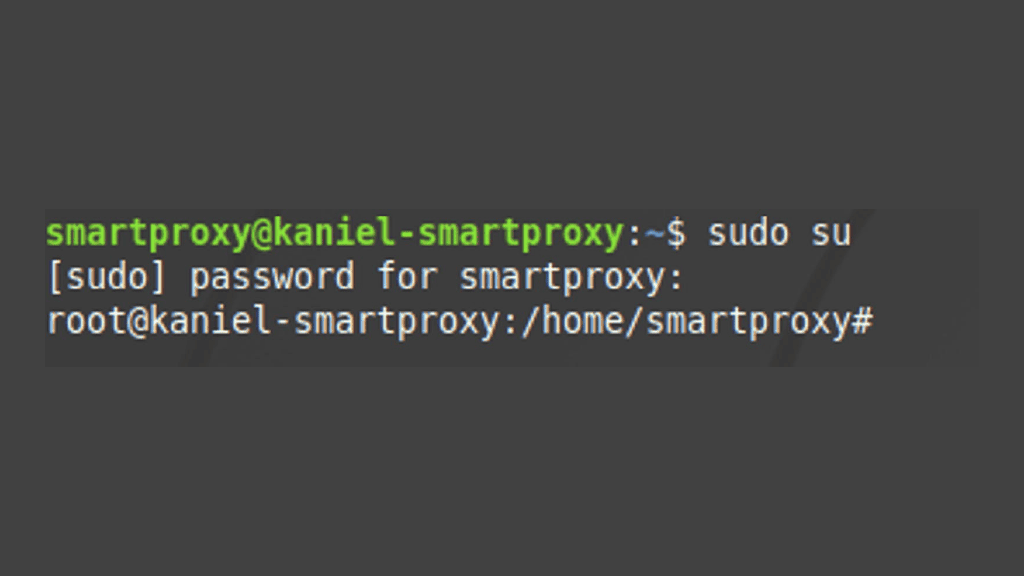
2. Sign in as a root user.
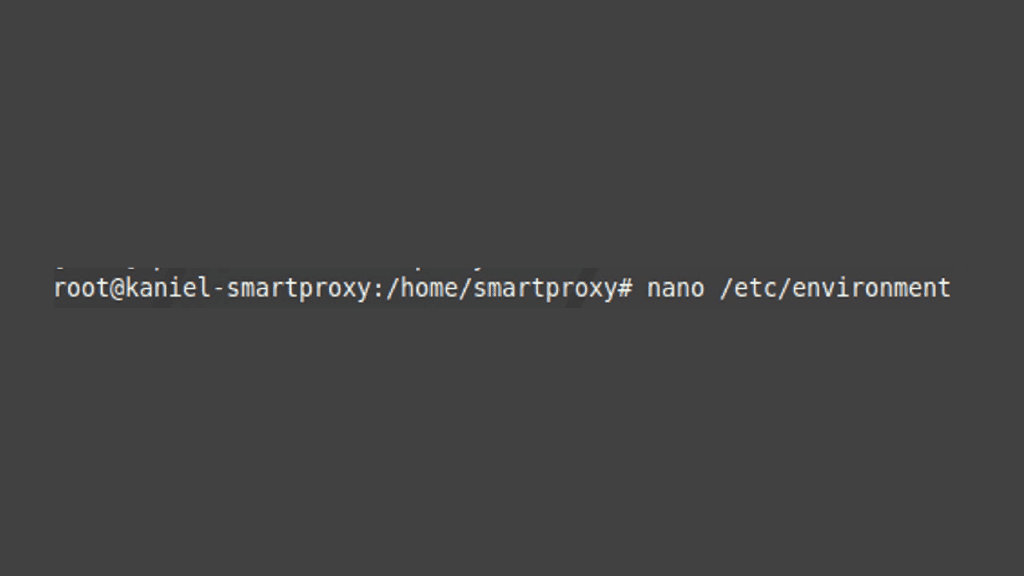
3. Open /etc/environment file with nano.
4. You should now be presented with a text editor window. Configure your proxy: http_proxy="http://gate.smartproxy.com:7000" https_proxy="http://gate.smartproxy.com:7000" no_proxy="localhost"
5. You can select any other endpoint from the available list. If needed username:password authentication is also available via http://username:[email protected]:7000.
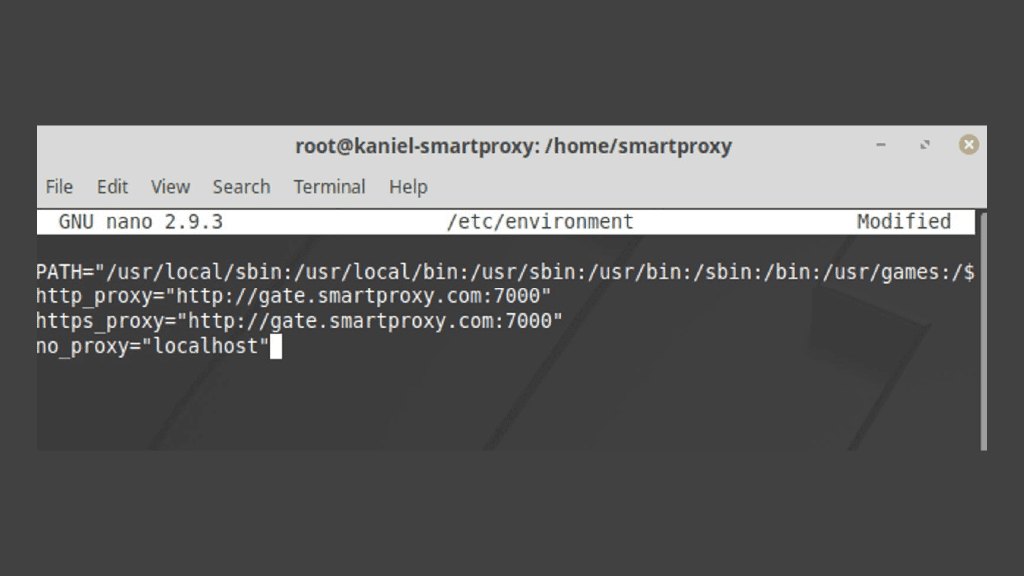
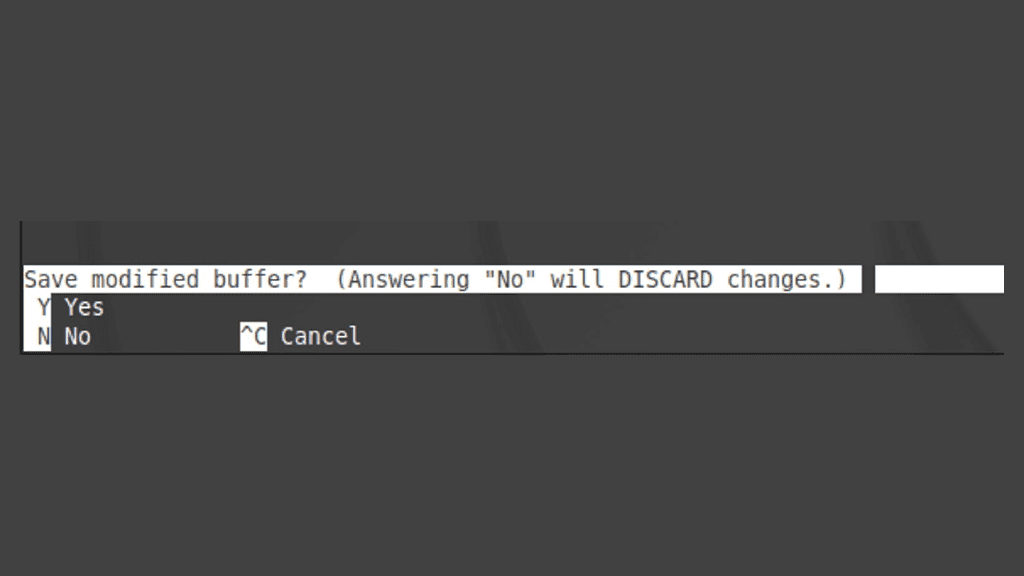
6. To finish editing selected file hit CTRL + X, then enter Y to save changes and confirm the file location by clicking ENTER.
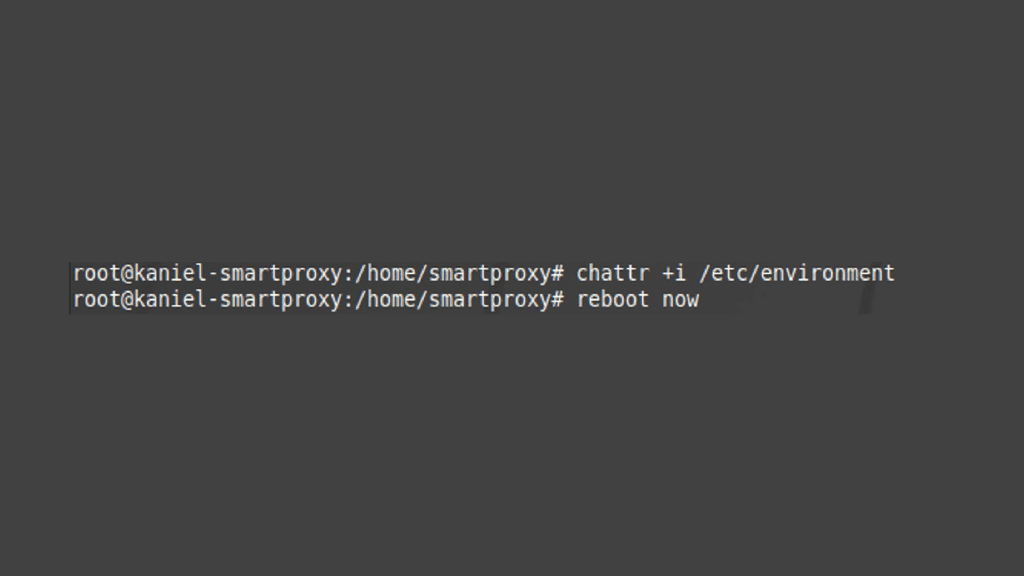
7. Finish up by locking the file and rebooting your your computer. Proxy changes may disappear if you will skip this step. To lock the file, enter chattr +i /etc/environment. To unlock it later on, you can use the -i flag instead.
Choose Smartproxy:

No blocks
Hide your personal IP and avoid getting detected by using our vast pool of residential exit nodes.

Unlimited connections
Use an unlimited number of connections, threads, and locations at once.

City- and country-level targeting
Use residential IPs from as many countries or cities as you like. Change locations as often as needed.


